An Investment in Product Consistency, Predictability & Precision
Customer satisfaction and trust revolve around the quality of the product. MJ Cycle always operate on the idea that products should be consistent, predicatble, safe, and perform as expected.
Throughout the years, MJ Cycle have invested in numerous leading-edge machines and equipment to ensure continued production of standard-setting quality products.
And to make sure these equipment are utilized to optimum levels of accuracy and performance, the Quality Control and Testing section is staffed with the most experienced and trained technical personnel in the industry.
-
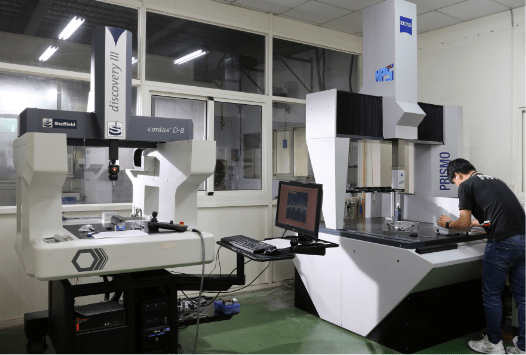
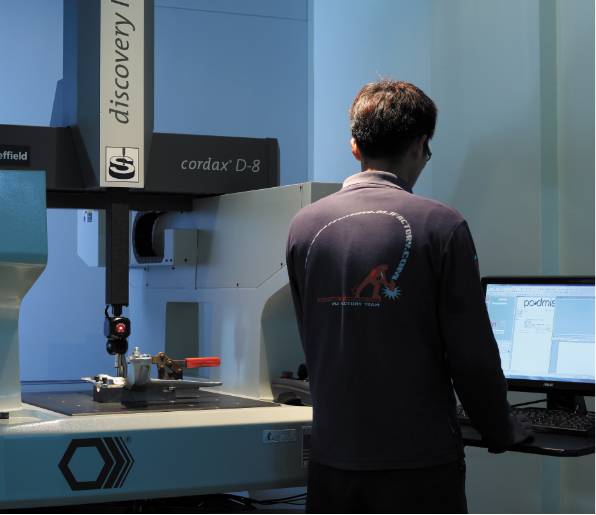
Coordinate Measuring Machine (CMM)
A very sensitive electronic probe that measures the geometry of physical objects, especially ones with very complex parts that cannot be reliably measured by traditional hand-held measuring devices. It is used for to qualifying rapid prototypes and production parts that have complex geometries with tight tolerances, or to test the accuracy of a manufactured part against its original design. CMM inspection offers accurate, repeatable results in a fraction of the time. MJ Cycle uses a state-of-the-art G&L Sheffield Cordax D-8.

-
Fluorescent Inspection
Used to detect defects that may compromise the integrity or quality of the part in question. Noted for its low cost and simple process, an is used widely in a variety of industries. Because of its sensitivity to such small defects, it is ideal for most metals which tend to have small, tight pores and smooth surfaces. Defects can vary but are typically tiny cracks caused by processes used to shape and form the metal.
-
Profile Projector
A profile projector is a high-ly efficient and easy to use optical instrument that can be used for measuring by magnifying the profile of the specimen, and displaying this on the built-in projection screen. On this screen there is typically a grid that can be rotated 360 degrees so the X-Y axis of the screen can be aligned with a straight edge of the machined part to examine or measure. Used for complex shape stampings, threads and comparing the measured contour model
-
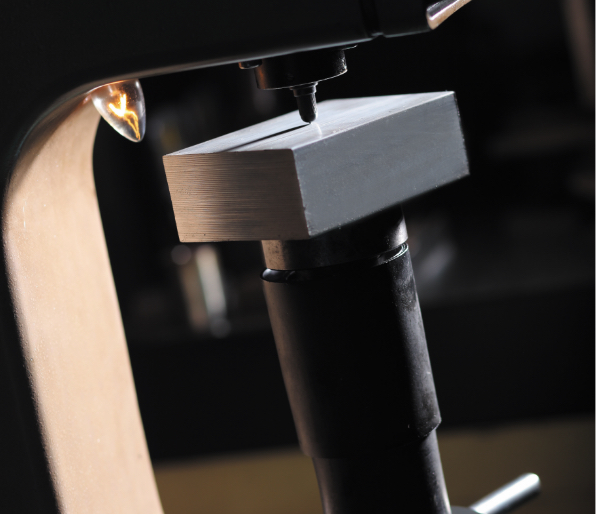
Hardness Machine
Indicates the hardness of a material, usually by measuring the effect on its surface of a localized penetration by a standardized rounded or pointed indenter of diamond, carbide, or hard steel.

-
Eddy Current (EC) Flaw Detectors
Eddy current (EC) testing is a quick, simple and reliable no contact method for the inspection of metallic parts. Property variations in the test part change the flow of the eddy current and are detected by the probe in order to make material thickness measurements or to detect flaws such as cracks and corrosion.
-
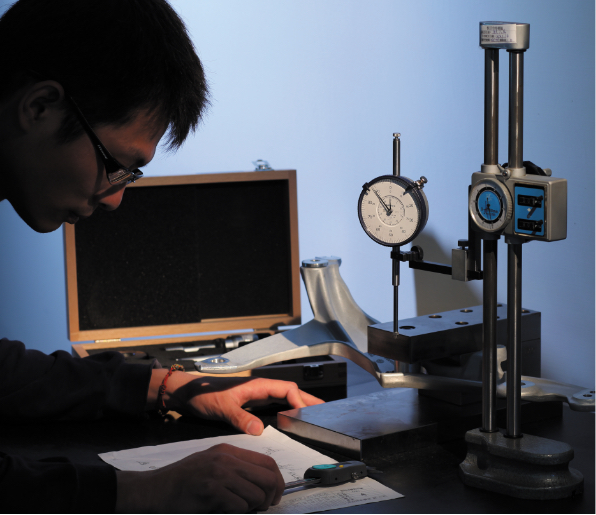
Dial Height Gauge with Indicator
A dial caliper design with a precision ground base installed. Ultra-accurate height gauging and measuring capability.

-
Internal & External Diameter Digital Centimeter Card / Mechanical Internal & External Mirror Centimeter Card
Used to measure the internal diameter and external diameter of of a cylindrical object or the cylindrical part of an object with a high degree of accuracy.
-
Thickness Gauge
A device used to quickly and easily determine the thickness or gauge and density of a material. A thickness gauge is an essential quality assurance tool when anodizing, galvanizing and applying zinc coating to metallic surfaces
-
Universal Testing Machine
A machine used to test the mechanical properties like tension, compression, and others of a given test sample by exerting tensile, compressive or transverse stresses. The machine can perform a wide range of tests over different kind of materials (peel test, flexural test, tension test, bend test, friction test, spring test, etc.).
-
Fatigue Testing Machine
Uses static, dynamic, and fatigue tests to evaluate the sturdiness of a given materials, components or finished products. Fatigue testing machines measures the force put onto the sample over many cycles until the sample cracks, deforms , bends or breaks. FTM measures the reduction in stiffness and strength of materials under repeated loading and to determine the total number of load cycles to failure.
